An image to SVG converter, often called an image vectorizer, rebuilds a pixel image as mathematical paths, so the same artwork stays sharp at a 16 pixel favicon size and on a printed banner. The DocPivot Image to SVG Converter accepts JPG, PNG, WebP, AVIF, GIF and BMP through a single page, traces each one into full color vector shapes, and finishes the job inside your browser without sending the file anywhere. The result is editable artwork in Illustrator, Inkscape and Figma, not a pixel image parked inside an SVG wrapper.
What This Image Vectorizer Does
It is a catch-all vectorizer: one page that traces every common raster format instead of a separate converter for each file extension. Most sites split this job across a PNG to SVG page, a JPG to SVG page and a WebP to SVG page, which forces you to work out which one matches your file before you can start. DocPivot also has single-format pages for PNG to SVG, JPG to SVG and WebP to SVG, each opening on settings suited to that format, but this page takes all of them. Here the browser decodes whichever format arrived and hands the pixels to the same tracer, so a designer with a mixed folder of logo exports does not have to sort them first. If your files are still in a format the tracer cannot read, the raster image converter can normalize them in one step beforehand.
The output is a real vector file. Every color region becomes its own group, every shape inside that group becomes a path with an id, and the file opens as selectable, recolorable artwork in any vector editor. That distinction matters more than it sounds, because several well known converters produce an SVG that simply embeds the original bitmap: the file extension changes and nothing else does. Zooming in on one of those files still shows pixels.
How Image to SVG Conversion Works
Tracing runs in five stages, all of them in your browser. Understanding the sequence helps you predict what the settings will do to your artwork.
- Decode and scale. The browser decodes the incoming format, then a large image is traced at a reduced working resolution and the paths are scaled back up, which is lossless because vectors carry no fixed resolution. Working resolution is 1000 to 2400 pixels depending on the preset, and enlarging the source beforehand with an image resizer will not help, because upscaling invents no new edges for the tracer to follow.
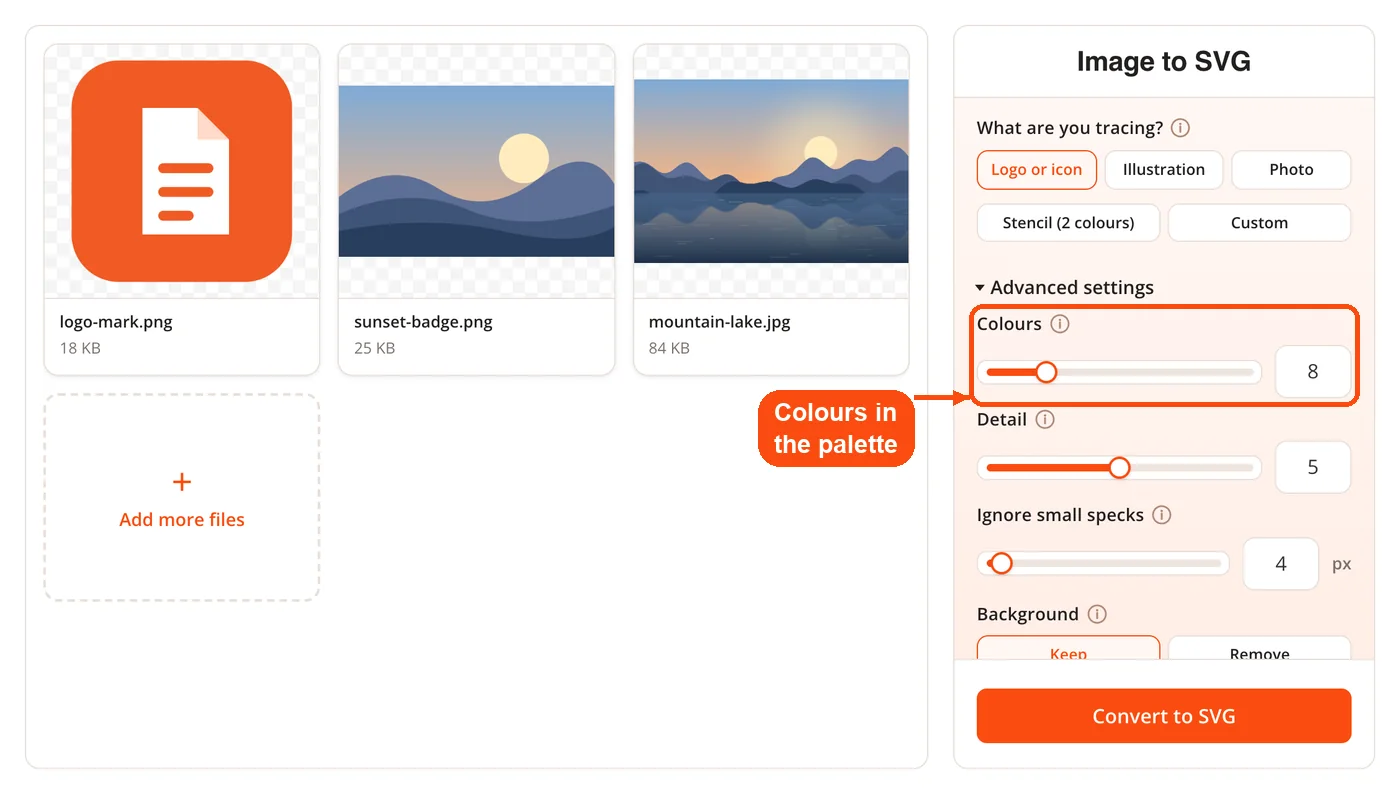
- Reduce to a palette. A k-means quantization pass with deterministic farthest-point seeding collapses the image into flat color regions. Transparent pixels are excluded from that pass so an alpha channel survives intact, and near-identical palette entries are merged rather than left as separate near-duplicates.
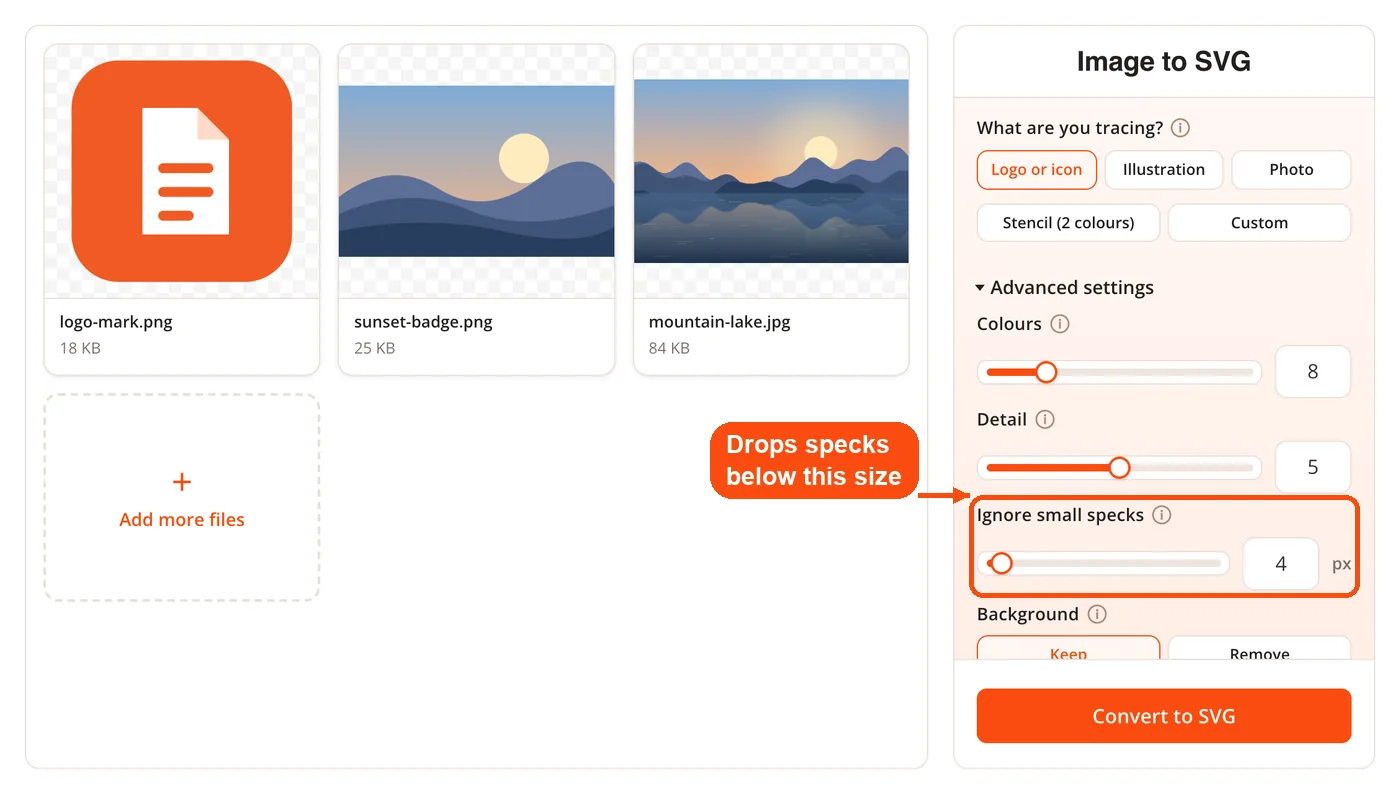
- Find region boundaries. Boundary edges are collected per color and stitched into closed loops, and regions below the area threshold are dropped. This is the step the Ignore small specks control drives.
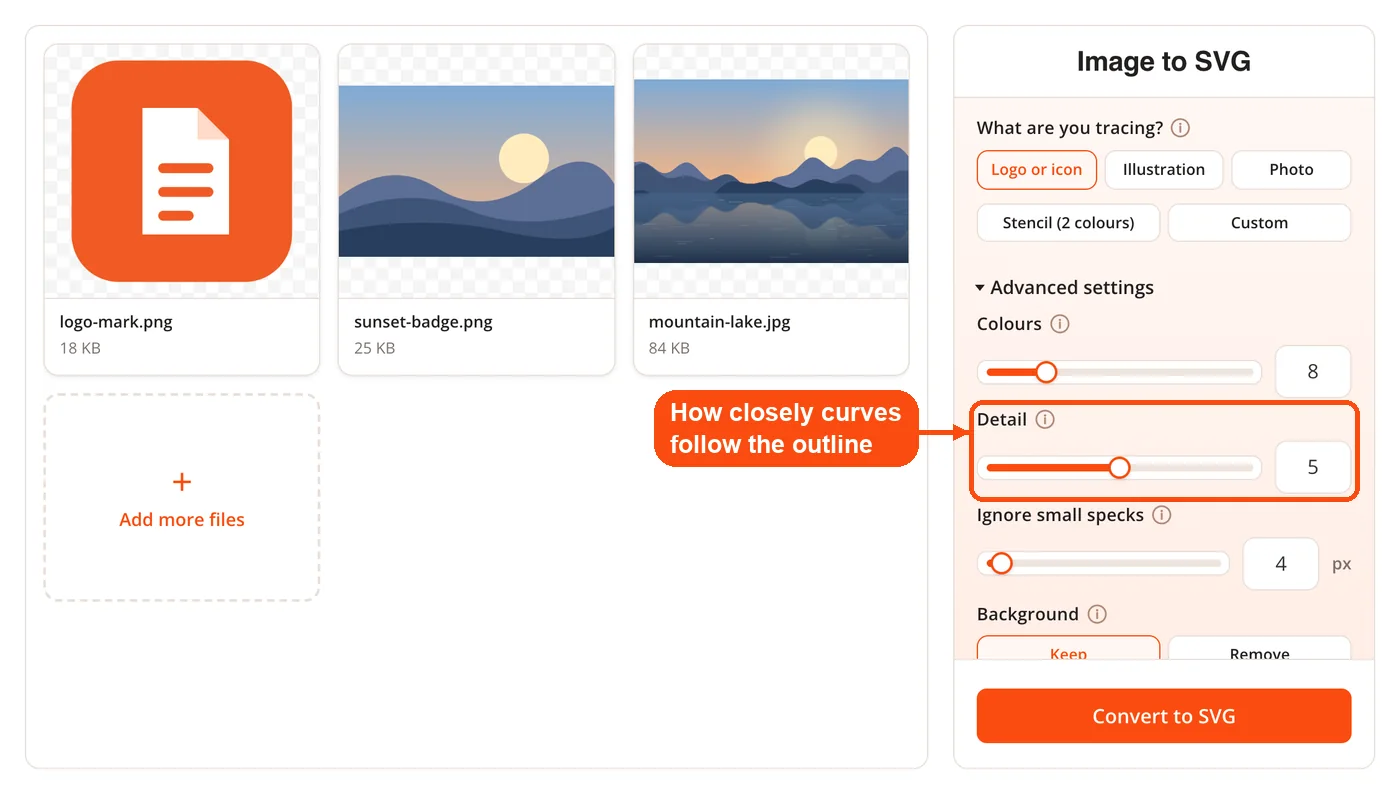
- Simplify and fit curves. Ramer-Douglas-Peucker simplification thins the point list, 45 degree corner detection protects the sharp angles, and least-squares cubic Bezier fitting using Schneider's algorithm with Newton reparameterization fits smooth curves against the original outline rather than against the simplified one.
- Emit the SVG. Colors are written in order of total area, largest first, so smaller details usually land on top of larger fills, grouped one group per color, with one path and one id per shape.
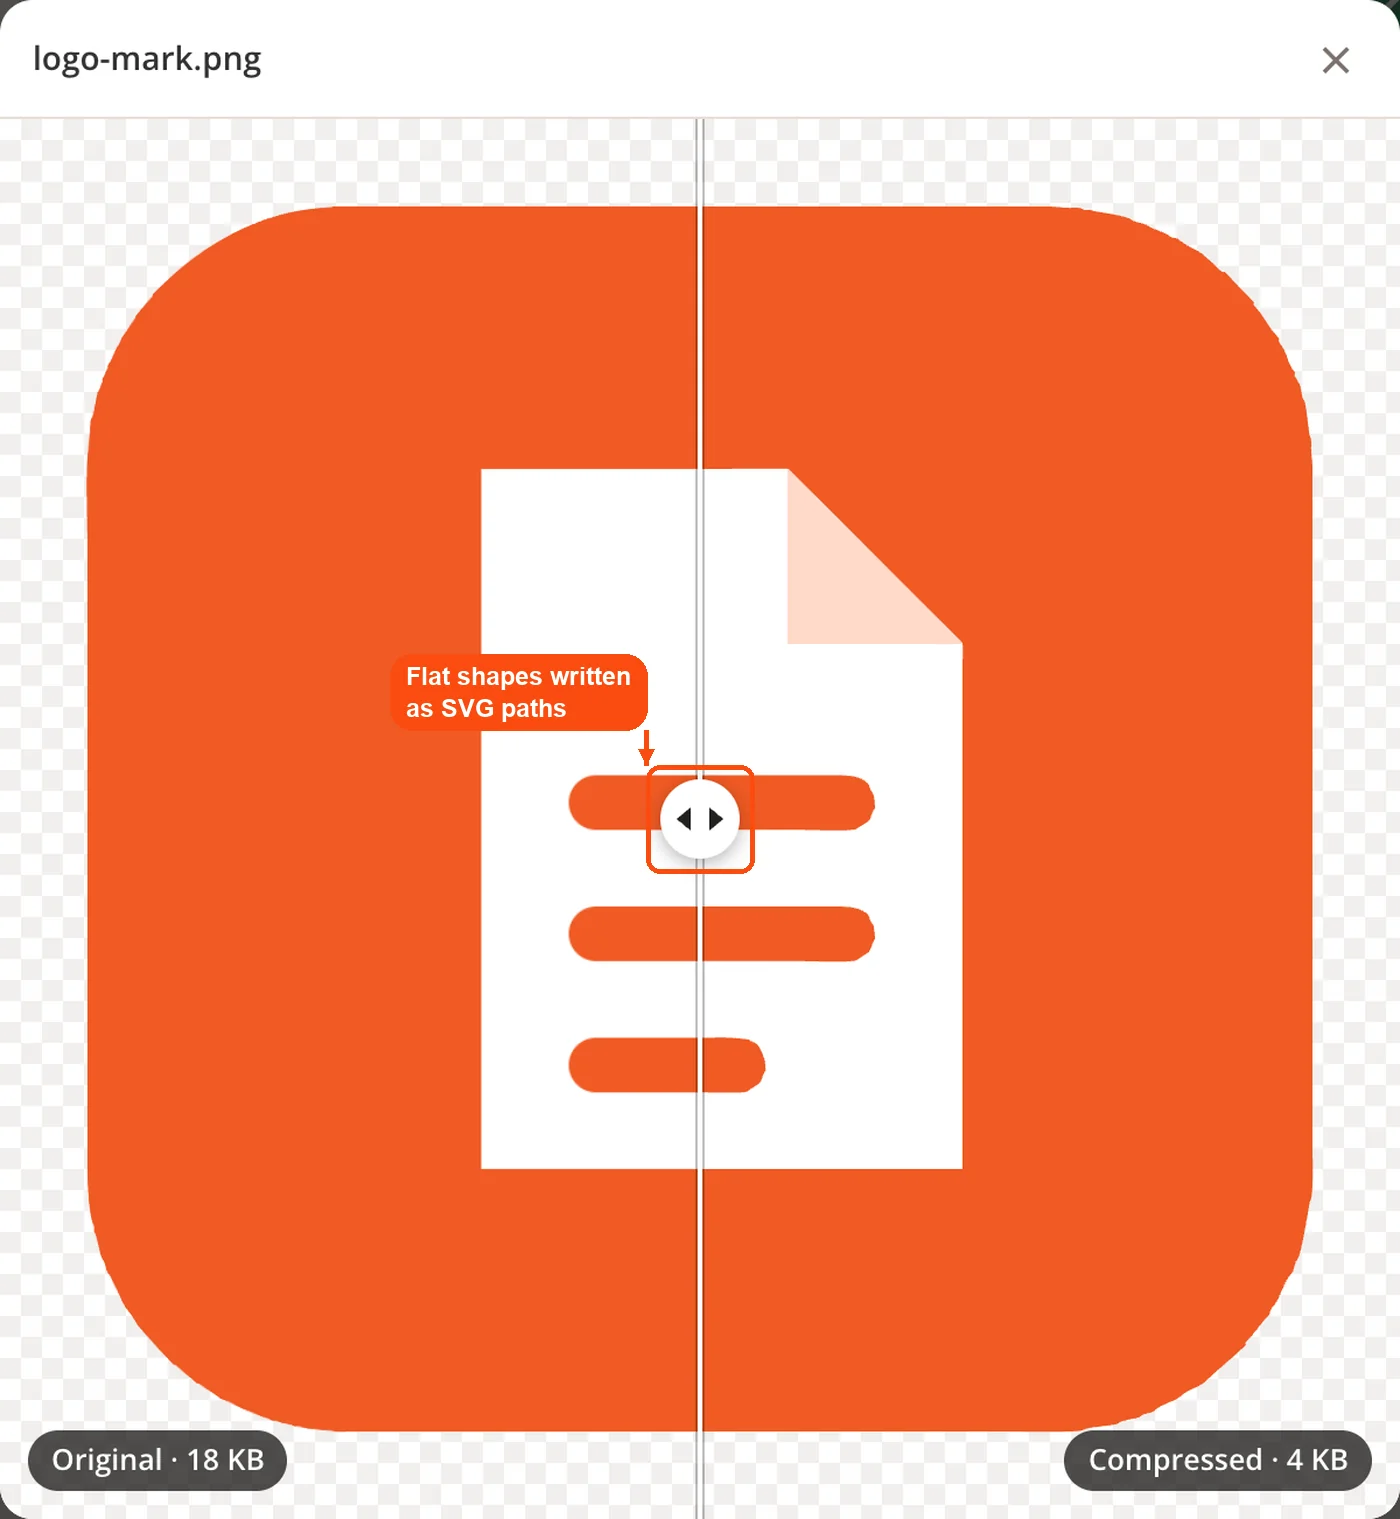
Because the fitting stage measures itself against the original outline, DocPivot keeps corners crisp on letterforms and icon strokes instead of rounding them off, which is the usual failure of a plain threshold tracer.
Presets and Settings in DocPivot Image to SVG Converter
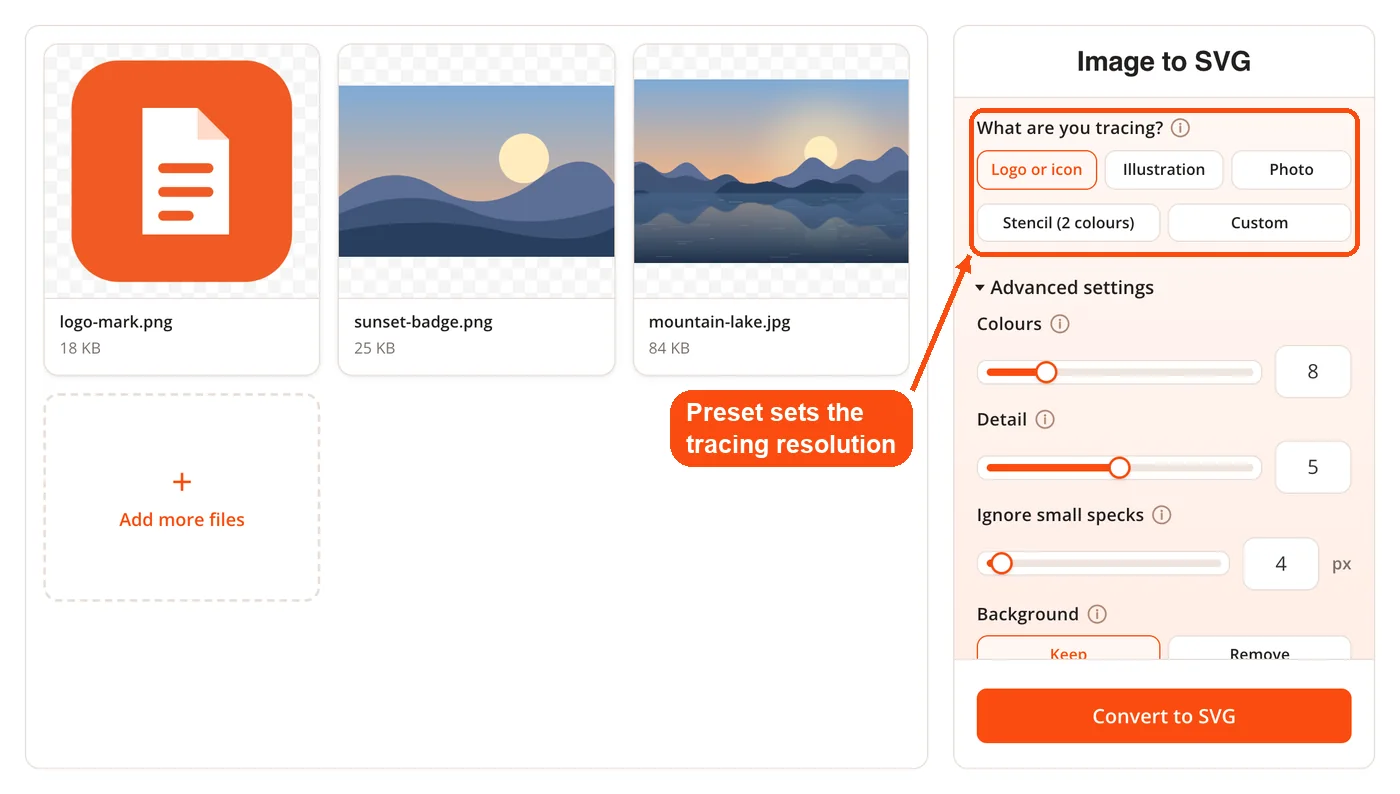
Four presets fill the three dials for you, and each one is tuned for a different kind of source artwork.
| Preset | Colors | Detail | Despeckle | Working resolution |
|---|---|---|---|---|
| Logo | 8 | 5 | 4 | 2400 px |
| Clipart | 16 | 5 | 8 | 2000 px |
| Photo | 12 | 2 | 64 | 1000 px |
| Stencil | 2 | 5 | 16 | 2400 px |
Picking a preset sets all three dials at once, and moving any dial afterwards simply relabels the configuration as Custom, so nothing is locked. Colors run from 2 to 32, detail from 0 to 10, despeckle removes specks below its area threshold, and the background can be kept or removed. A flat two color mark usually traces best on Logo with colors dropped to 4 or fewer, while a screenshot full of interface chrome does better on Clipart with despeckle raised until the antialiasing fringes disappear.
Key Benefits of DocPivot Image to SVG Converter
- One page for every format. JPG, PNG, WebP, AVIF, GIF and BMP go through the same tracer, so a mixed folder needs no sorting step.
- Color survives the trace. Quantization keeps the palette instead of flattening the artwork to black and white, which many free tracers still do.
- Transparency is preserved exactly. Transparent pixels never enter the palette pass, so an alpha background stays the size it was rather than growing a fringe.
- Small, readable output. Curve fitting against the original outline produces a handful of paths rather than hundreds of anchor points, so files stay light enough to inline in HTML or CSS, where a photographic asset would still be better served by an image compressor.
- Genuinely editable structure. One named group per color means you can select and recolor an entire region in Figma or Illustrator without hunting through a flattened blob.
- Nothing leaves your device. Decoding, quantization, contour stitching and curve fitting all run locally, which matters for client logos and unreleased brand work.
- No account, no watermark, no daily cap. There is no sign up step, no credit meter and no watermark on the download.
The privacy point deserves a caveat rather than a boast. Client side processing is now claimed by several free converters, so it is not a differentiator on its own. The combination that is harder to find is local processing together with color, exact transparency and an editable per-color structure in the same free download.
When to Use DocPivot Image to SVG Converter
Reach for it whenever flat artwork needs to scale, be recolored, or be cut. Vector tracing rewards images with clear edges and a limited palette, and it struggles with continuous tone.
- Logo rescue. A client sends a 500 pixel PNG and the site header needs a mark that holds up on a retina display.
- Icon sets. Flat icons become inline SVG that inherits color from CSS instead of shipping at three pixel densities.
- Cutting and craft files. Cricut Design Space and Silhouette Studio both read SVG, so a traced file cuts cleanly where a raster import would not.
- Print and large format. Signage, vehicle wraps and exhibition graphics all need artwork that survives enlargement.
- Screenshots for documentation. Interface captures with flat panels trace into diagrams that stay legible when a reader zooms.
- Scanned line art. Inked drawings and hand lettering vectorize well once despeckle clears the scanner noise. Scans usually need a quick crop to remove the page border first.
- Embroidery and laser work. Digitizing software and laser cutters expect paths, not pixels.
Photographs are the clear exception, and the tool says so before you convert rather than after you download. Portraits, product shots and anything with gradients produce a posterized approximation with a large path count. For those files a smaller compressed raster is almost always the better answer than a vector.
Use Cases for DocPivot Image to SVG Converter
Rebuilding a Brand Mark From a Low Resolution Export
Context: An agency inherits a brand with no source files, only a 500 pixel PNG of the logo.
- Load the PNG and select the Logo preset.
- Drop colors to match the actual brand palette, often 3 or 4.
- Raise despeckle until the antialiased edge crumbs disappear.
- Download and open the file in Illustrator to check the corners.
Result: A vector mark that carries the brand across a favicon, a business card and a trade show banner from one file. The favicon step is faster through the favicon generator, which writes the icon sizes browsers expect.
Preparing a Cut File for a Craft Machine
Context: A small shop owner has a hand drawn monogram photographed on white paper.
- Convert the photo to a flat black shape using the Stencil preset.
- Turn the background off so the paper does not become a filled rectangle.
- Raise despeckle to clear paper texture and pencil ghosting.
- Import the SVG into Cricut Design Space and cut.
Result: A clean two color cut path with no stray specks for the blade to chase. Converting the photograph to grayscale first makes the threshold behave more predictably on uneven lighting.
Shipping Icons as Inline SVG
Context: A front end developer receives an icon set as PNG assets at three densities.
- Trace each icon with the Logo preset and 2 colors.
- Confirm the path count stays in single digits per icon.
- Paste the markup into the component and drive fill from CSS.
- Delete the three raster densities from the build.
Result: One asset per icon instead of three, and icons that recolor on hover without a second file.
Turning a Screenshot Into a Documentation Diagram
Context: A technical writer needs a product screenshot that stays readable at any zoom level in the docs.
- Trace the capture on the Clipart preset with 16 colors.
- Raise despeckle to remove text antialiasing fringes.
- Select the background group and recolor it to match the docs theme.
- Export and drop the SVG straight into the page.
Result: A lightweight diagram that scales with the reader rather than blurring. If the screenshot arrived as a HEIC capture from a phone, convert it to JPG first, because HEIC is outside the accepted input list.
How DocPivot Image to SVG Converter Compares
The figures below come from one internal test: a single 500 by 220 pixel transparent PNG logo, measured on 21 August 2026. Treat it as a snapshot of one file on one day rather than a benchmark suite, since every tracer behaves differently on different artwork and these services change their engines without notice.
| Service | Bytes | Paths | Color | Transparency |
|---|---|---|---|---|
| DocPivot Image to SVG | 7,240 | 8 | Yes | Exact, 32 percent |
| Convertio | 10,019 | 61 | No, bitonal output | Lost |
| FreeConvert | 102,857 | 964 | Yes | Inflated from 32 to 42 percent |
| Vectorizer.AI | Not measured | Not measured | Yes | Yes, behind a paywall |
Two points from that table need spelling out. Vectorizer.AI produces excellent tracing and offers SVG, PDF, EPS and DXF output, but its free tier is preview only and downloads start at 9.99 dollars a month, so the comparison is not like for like. CloudConvert is absent because it does not perform raster tracing at all: its list of sources that convert into SVG contains only vector, page description and font formats such as AI, EPS, PDF, DXF and TTF.
Free tier limits are worth knowing before you commit to a workflow elsewhere. FreeConvert allows 20 conversion minutes per day with a 5 minute ceiling per file, CloudConvert allows 10 conversions per day, and Convertio works on a credit system of 10 credits per 24 hours. A tracer that runs on your own hardware has no equivalent meter.
Limits of DocPivot Image to SVG Converter
Honest limits save more time than feature lists do.
- Photographs are not a good fit. Continuous tone becomes flat bands, and the path count climbs fast. This is a property of tracing generally, not of this implementation.
- Input list is fixed. JPG, PNG, WebP, AVIF, GIF and BMP are accepted. HEIC, TIFF and PDF pages are not, so route those through a converter first. A TIFF to PNG pass takes seconds and loses nothing.
- Output is SVG only. DocPivot writes no PDF, EPS or DXF, while Vectorizer.AI and several paid tools do, and some print and cutting workflows require those formats.
- The palette ceiling is 32 colors. Paid vectorizers that advertise hundreds of colors will reproduce complex illustrations more faithfully.
- Very large files take time. Quantization and curve fitting run on your own processor, so a big source image on an older laptop will be slower than a server would be.
Getting Cleaner Results From DocPivot Image to SVG Converter
Most disappointing traces come from the source image rather than the settings. Fixing the input is usually faster than fighting the dials.
- Start with the largest version you have. A 2000 pixel source traces better than the same logo at 300 pixels, because the edges the tracer follows are better defined.
- Cut the color count before you cut detail. Excess colors cause more stray shapes than excess detail does.
- Use despeckle on anything that has been compressed. JPG artifacts around edges become their own tiny regions if you do not clear them.
- Check the output at 100 percent and at 800 percent. Corner rounding and dropped counters show up on close inspection, not in the thumbnail.
- Keep the raster original. A vector is not always the right delivery format, and you may still want a WebP version for page weight.
Frequently Asked Questions
Yes, with no account, no watermark and no daily conversion limit. Tracing runs on your own device, so there is no server cost to meter.
Drop a JPG, PNG, WebP, AVIF, GIF or BMP on the page, pick what you are tracing (Logo or icon suits most artwork), and press Convert to SVG. The image is traced into vector paths in your browser, and the SVG is saved when you click Download.
No, the file never leaves your browser. Decoding, quantization, contour stitching and curve fitting all execute locally, which means client logos and unreleased artwork stay on your machine.
JPG, PNG, WebP, AVIF, GIF and BMP are accepted. Decoding relies on the browser's own format support, so no extra download is needed for any of them.
You can, but the result will be a posterized approximation rather than a faithful copy. Photographs contain continuous tone that vector paths cannot represent, so the tool warns you before conversion instead of after download.
Yes, transparent pixels are excluded from the palette pass, so the alpha channel is carried through unchanged. In the internal test above the transparent area measured the same 32 percent before and after conversion.
Between 2 and 32, set by the colors dial or by whichever preset you chose. Logo uses 8, Clipart uses 16, Photo uses 12 and Stencil uses 2.
Yes, SVG is the standard import format for Cricut Design Space and Silhouette Studio. Use the Stencil preset with the background removed for the cleanest cut path.
Convert it to PNG or JPG first, then trace the result. Neither format is in the accepted input list, and the intermediate conversion costs nothing in quality.
The color count or the working resolution is usually too low for the artwork. Raise the colors dial, switch to a preset with a higher working resolution such as Logo at 2400 pixels, and lower despeckle if small shapes are vanishing.
Yes, DocPivot writes plain grouped SVG with one group per color and an id on every path. That structure lets you select a whole color region and recolor it in one action.
A format converter can wrap the original pixels inside an SVG container, which changes the extension without creating vector paths. Tracing produces actual geometry, so the artwork stays sharp at any zoom level and every shape can be edited.
Yes, and it is worth doing for email and social platforms that do not render SVG. The SVG to PNG converter handles transparent output, the SVG to JPG converter suits flattened artwork, and the SVG to PDF converter is the one print vendors usually ask for.
